How to repot houseplants
Education
06/04/23

Words by Helen
Today we’re talking about that task we KNOW you’ve been putting off – repotting.
Spring is finally kicking in and this is the perfect time to refresh your plant’s homes, so we’re going to run you through everything you need to do to give your plants a spring boost and encourage lots of healthy growth over the warmer months.
What do I need to repot my houseplants
A new pot – You will need a pot that is 1-2 inches larger than the pot your plant is currently in. It is important your pot has drainage holes so if you would like to use a decorative pot that does not have any drainage, we always recommend that you plant into a plastic pot and then insert this into your decorative one.
Fresh potting mix – We recommend going for a peat-free compost, but you can choose different potting mixes based on the kind of plant you are working with.
A scoop – This can be a trowel or simply your hands if you don’t mind getting a little messy.
Somewhere that can easily be cleaned – Since you’re going to be transferring soil between pots, there is going to be some mess created so make sure you have some plastic or newspaper down or go outside if the weather is suitable.
Watering can – Have a watering can handy so you can give your plants a quick refreshment once in their new homes.
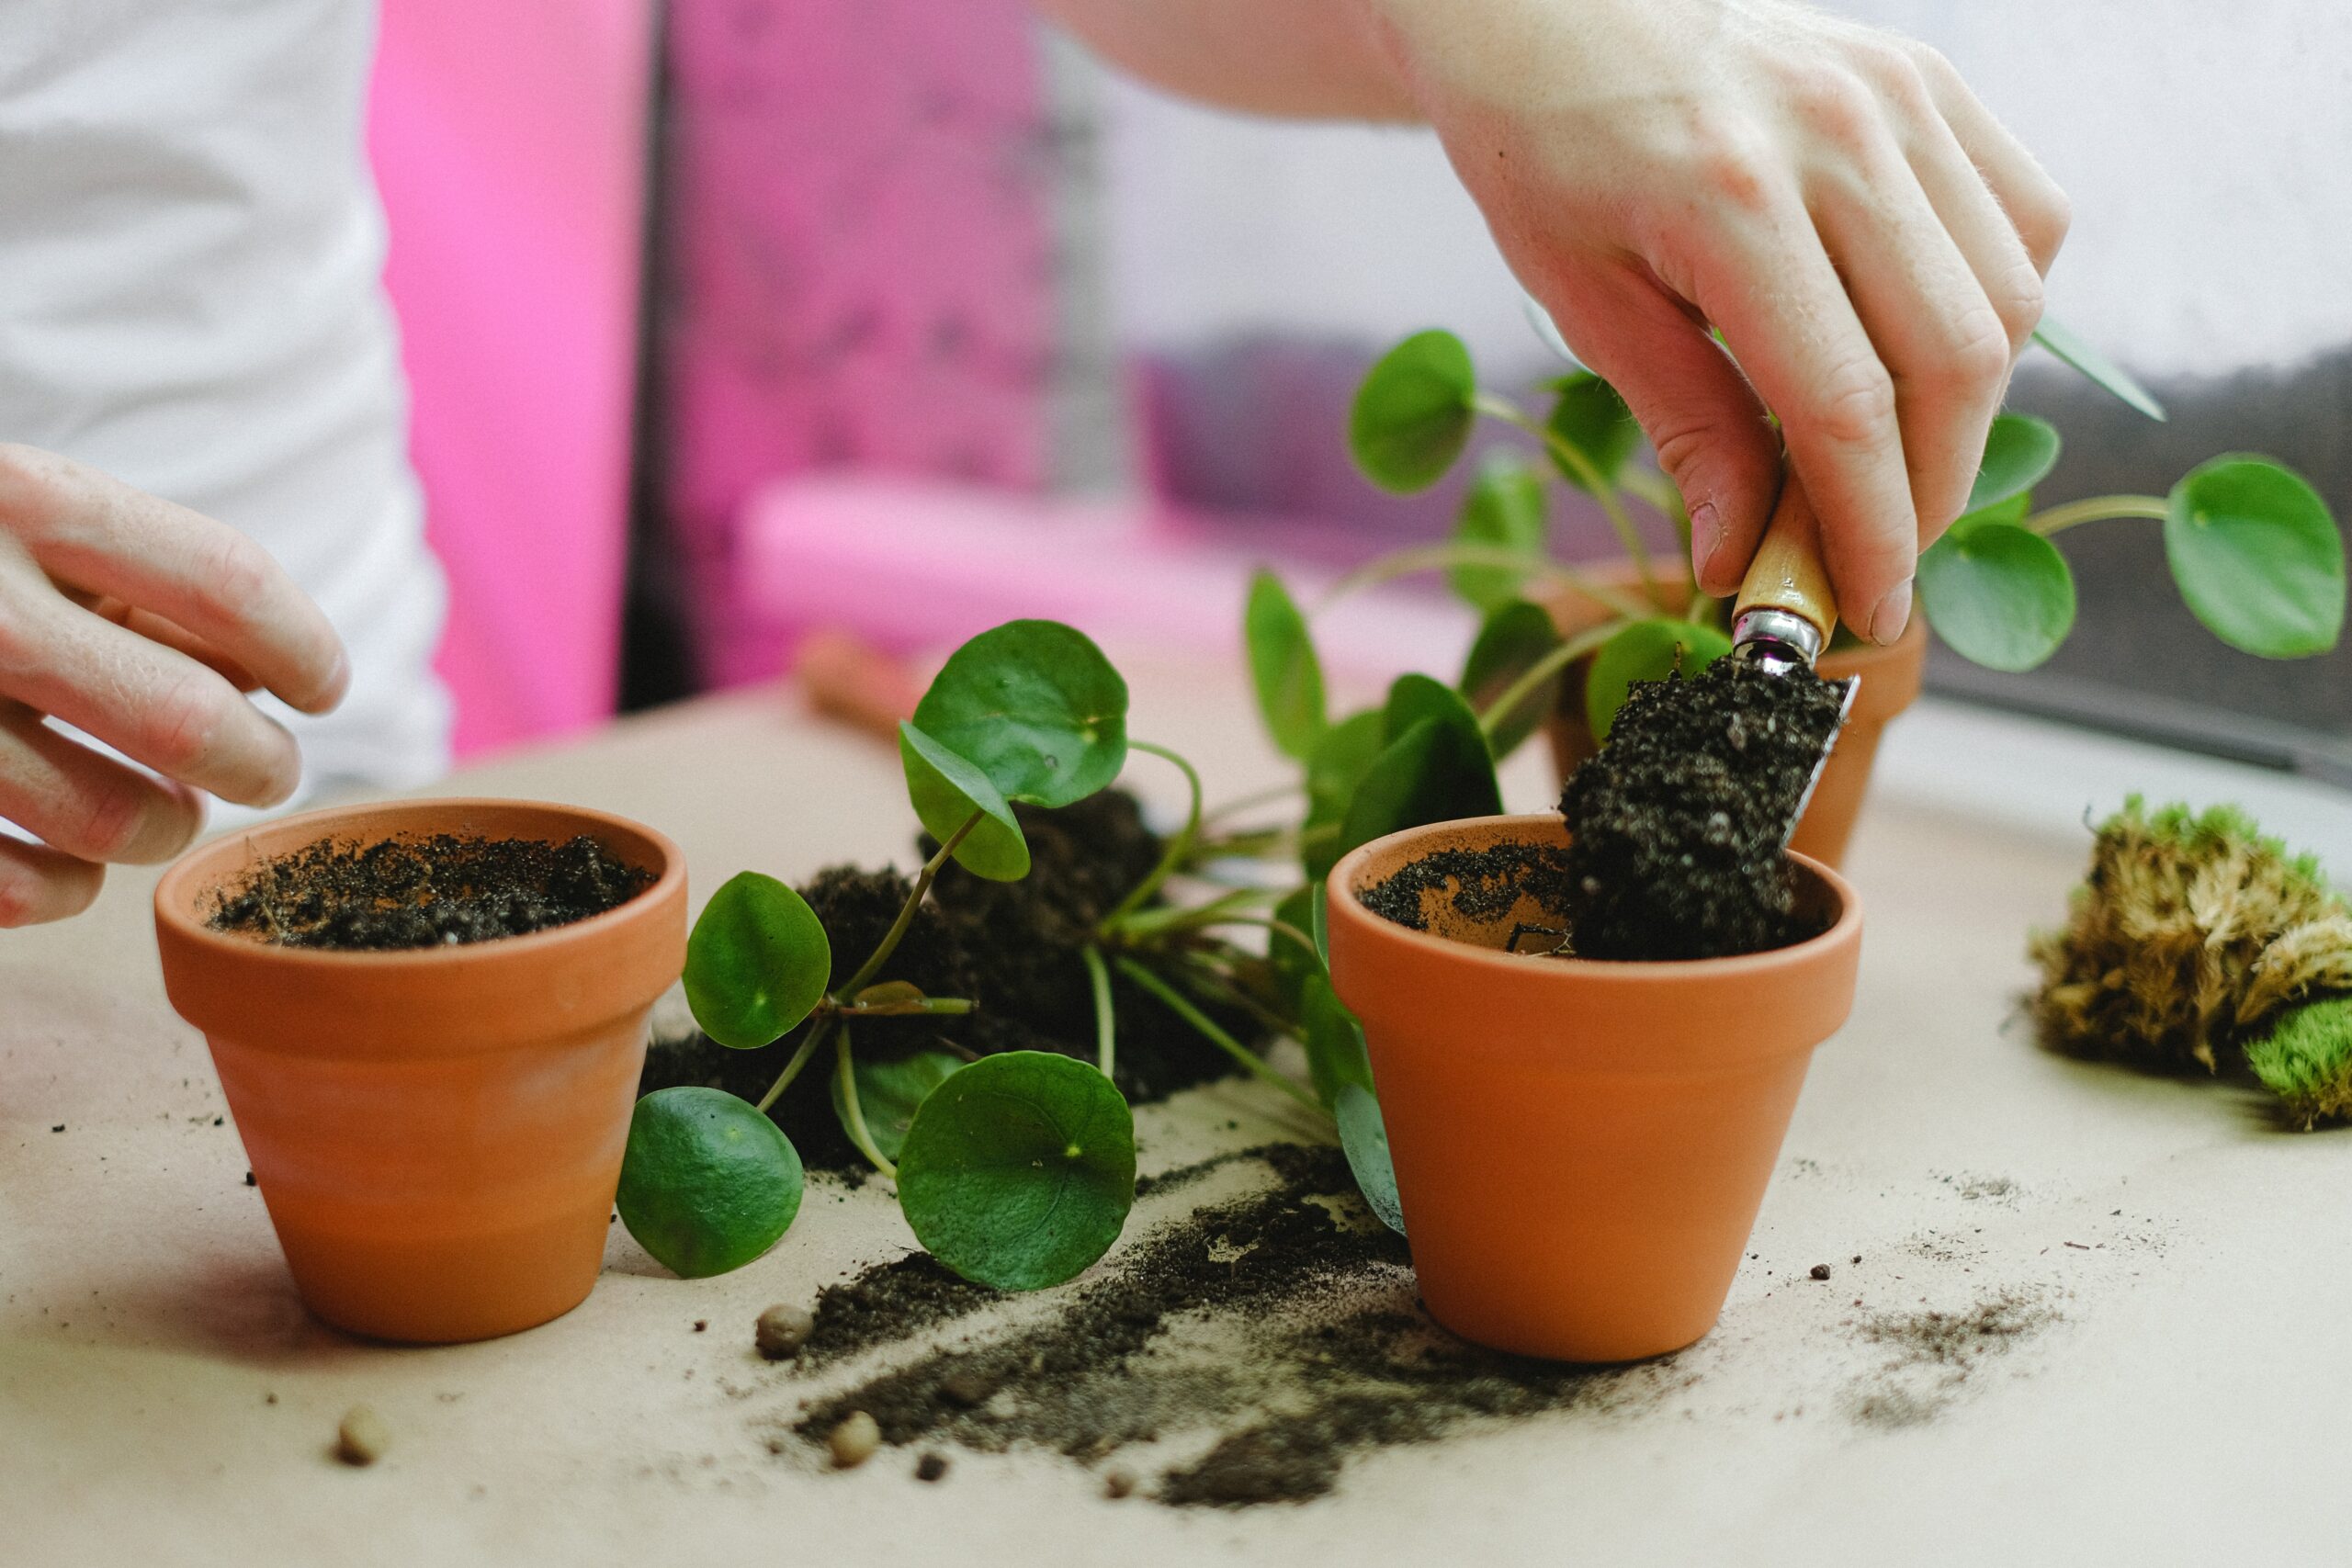
How do I repot my houseplants?
Remove the plant from its current pot – Hold the pot with one hand and with the other gently pull the plant by its bottom stems to try and loosen it. If you are struggling to remove it this way, give the pot some light taps or squeezes to further loosen the soil. TIP: water your plants the day before repotting to make them easier to remove.
Loosen the roots and potting mix – Gently loosen the roots from each other and remove at least half of the current potting mix. Don’t worry about hurting or breaking the roots, they’re stronger than you think and as long as the large roots at the top remain in tact you should be fine. TIP: if the roots have grown long and tangled, you can trim these before moving to the new pot.
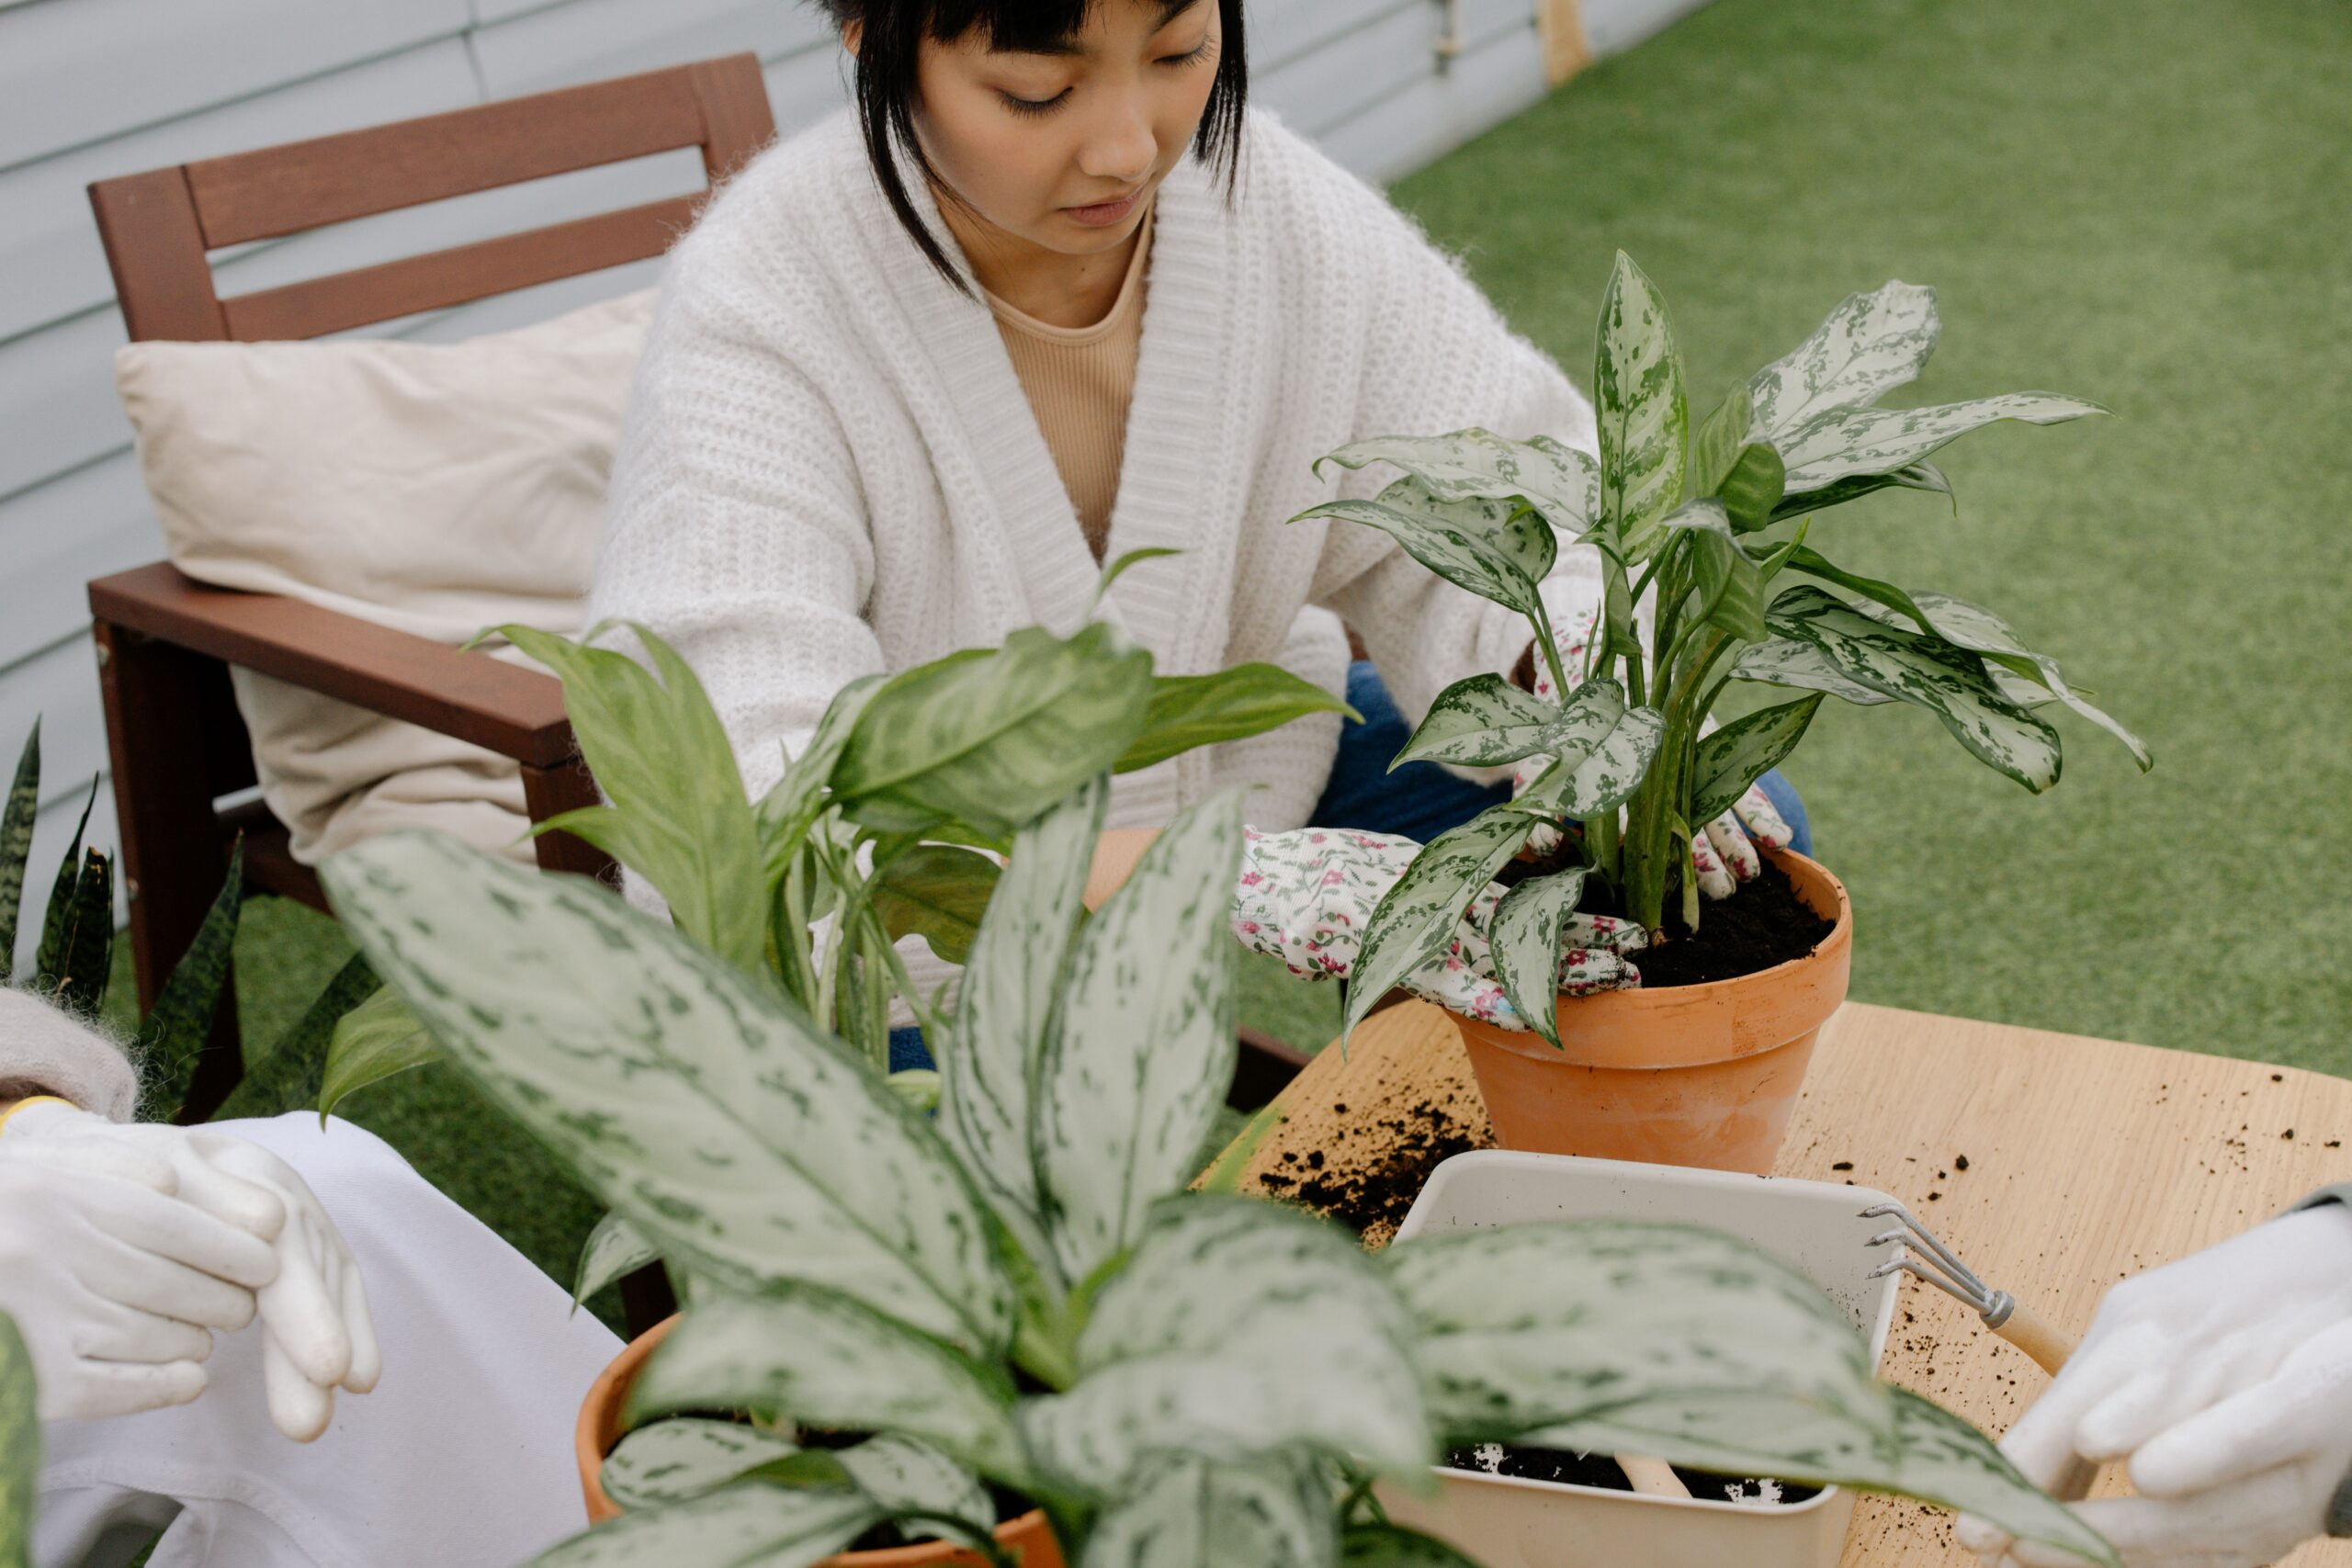
Add the new potting mix – To your new pot, put some fresh potting mix into the bottom, you can then place your plant on top of this and add more mix around the sides to fill the pot. Aim to leave a small amount of space between the top of the soil and the top of the pot to allow for watering.
Give it a water – Once your plant is steady in its new pot, give it a quick water, add it to your decorative pot if wanted and you’re good to go!
Tips & Facts
– Although we often assume repotting is only due to pot size, plants eventually will use up all the nutrients in their soil which is why they benefit from a new potting mix ahead of growth season.
– Spring is the best time to repot houseplants because it is the beginning of their growth season, and to grow healthily they need to have a fresh and clean home.
– Some signs to look out for when deciding to repot include roots growing out of drainage holes, plants struggling to stand because of their size and things like mouldy or abnormally dry soil.
For more plant advice and guidance, get in touch or head into our Exmouth Market store, and to browse pots and more online click here.